Pages

Showing posts with label ReStore. Show all posts

Monday, September 19, 2011

We got a new door, well, kinda

When we first moved into the Big Yellow House, the neighbor across the street said he saved the front door that came off this house and asked if we wanted it.........of course we did! After last winter, the plan was to put it on as the front door since the front door was mostly glass and move the front door to the side since the front is north, brrrr.


But then since we caulked and winterized more and realized (and this is the big one) that we'd have to carry around the skeleton keys to lock the door we use the most (side door) from the inside AND out, we'd leave it and put the OTHER door we got from the neighbor on the side. Either way that side door had to go, it was just a boring, ugly door. Guess that explains why I don't have a picture of it, LOL.


So here is the new and improved inside view of my side door as they were putting it in, and messing up my new paint job I might add.


And here it is hung. It was white when we got it. I thought I might like a red front door, but since it didn't go on the front door, I decided I'd like it better white.


And I do! This was right after they hung the new screen door we got at ReStore KC for $15! It also needed painting though. Oh, and see those screws around the 2 frames? Those are for the inserts.


Yep, I still got my red! I read somewhere, maybe Pinterest, on how to clean screen doors but have yet to go and find it. What? I've been busy.


I had a little trouble staying in the lines, but I think it finally turned out ok!


Isn't it fabulous? AND, I'll still get some red on the front because this weekend we found a 105 year old screen door off a farmhouse on craigslist for the low down bargain price of $5! And even with all the horrible experiences many of us have had with craigslist, this lady held it for a week for me AND left it outside her garage for me to get since she wouldn't be home and told me to just leave the money under the front door mat, thanks Jane!

 front
Inside

I can't wait to get it on the house! It also has a removable insert, but we don't have anything else to insert into it, LOL, so that part will have to wait till he builds me something.

Monday, August 15, 2011

How about flooring?

Nothing is straight in this house, floors, ceilings, walls, etc. We've decided to go with it, gotta love an old crooked house, right? It's only horrible when you have to do flooring or try to measure up or down from a wall. But yet, I hated the carpet and it had to go. With 2 dogs and 3 cats carpet is so not a good idea.
 Here is the horrible matching carpet and walls. Keep in mind that ugly box step to the kitchen for later.
My rug even looks horrible against it.

So one day while browsing pinterest, I came across a flooring post that would be WONDERFUL for my floor! The idea came from Quarry Orchard, even though they didn't even know what it would be when they started. I was happy to learn from them and took it all to heart!

 We ripped up all the carpet and padding. Gross huh? We (he) then removed all the carpet tack strips and together we pulled out the 5 million staples from the padding. The couch stayed in here the entire time because I ran out of room to stash furniture, it was like a maze in my house.

They didn't know they were staining the planks, we did. So when we found minwax stain for $2.50 a quart at ReStore, we knew we would stain the sub floor a darker color than our planks to show through the grooves. And it dries much faster than paint, so it was perfect! Somewhere along in this mess, I decided the horrible already painted to look like brick fireplace had to go, and before I knew it, I was priming it too.


Since this was a big job, we went to Sutherlands for the plywood and had THEM cut it into planks. We used 1/4" sanded red oak and had it cut in 5 7/8" strips so they would come out even. The living room joins with the guest room, sun room, kitchen and our bedroom/parlor. The kitchen has allure flooring in it that was chosen so it could get wet. The guest room has original hardwood floors that are kind of dark. The sun room floor is hard wood that is painted red. The bedroom/parlor has carpet but oh what a surprise I found under it. We weren't trying to be all matchy matchy so we decided to go with wide planks and a light stain because of the dark walls. We chose 1/4" so it would be flexible with our crooked floors.

We used ipswich pine for the plank stain, also purchased from Restore KC, nice huh? We did all the staining outside and between the 2 of us it didn't take too long because it dried quick. We also did the poly outside but it took a lot longer because we didn't have the room to lay it ALL out to dry between coats. That and it finally rained here on and off all week the week we decide to work outside, figures huh? We used 3 coats of poly on each plank. We used a poly made by Rustoleum that was only $24 a gallon versus twice that for other brands. They didn't have much feedback on it at Home Depot but since it was Rustoleum, we thought why not? It looks good and I see NO problems with it so far. I'm sold!


Now that's what I'm talking about! It looks 2000 times better in here now!


Remember the little box step? I told him my vision for the new step and he made it come to life. Even better than I imagined. Yep, that's one of the things I love about him! Isn't it fabulous?

I'm off to take care of some more details in the room now.......


I'm partying at:

Flaunt it Friday
and
Show and Tell Friday
and
It's a HodgePodge Friday
and
http://www.thethriftyhome.com
Wallet-Friendly Wednesday


Transformation Thursday

Sunday, August 14, 2011

Lets start with baseboards

So traditionally "back in the day" as I always say, baseboards were called mop boards and were wide to prevent the mop from touching the walls. Now of course we don't really worry about that now, but I do like the look.

I don't remember if I saw it here first or on pinterest, but it is/was a fabulous idea! FAKE IT! We set off to gather supplies. First stop was a little place near here that sells Valspar since I refuse to visit Lowe's again. Second stop was Habitat for Humanity Restore to buy trim ($1 each piece). We also ended up buying 2 cabinet doors, 2 cabinet bases, a piece of plywood and a tabletop, but that's another project. (well, except the doors).

I painted the top trim.
I painted the existing bottom trim and a strip of white paint above it.
I used this handy dandy measuring device to measure the width.

I didn't get much help from the dogs who kept throwing things in the floor and ripping up the tape.
And of course laying in the way.
I then proceeded to paint the rest of the walls. It's a blue neutral called Deep River Green.Isn't it gorgeous? And it only took me a year to pick it!
 This is what it looked like before, horrid isn't it? The walls matched the carpet!
We then started ripping up the carpet and padding. I would like to personally thank whoever secured the padding with 5 million staples, but since I don't know who that is, I'll say it here, good job guy!
It was now time to paint the 2 cabinet doors I got from Habitat for Humanity Restore KC.(Also $1 each)

Added a trim frame around the windows and added the cabinet doors underneath.
I then primed and painted between all of that.

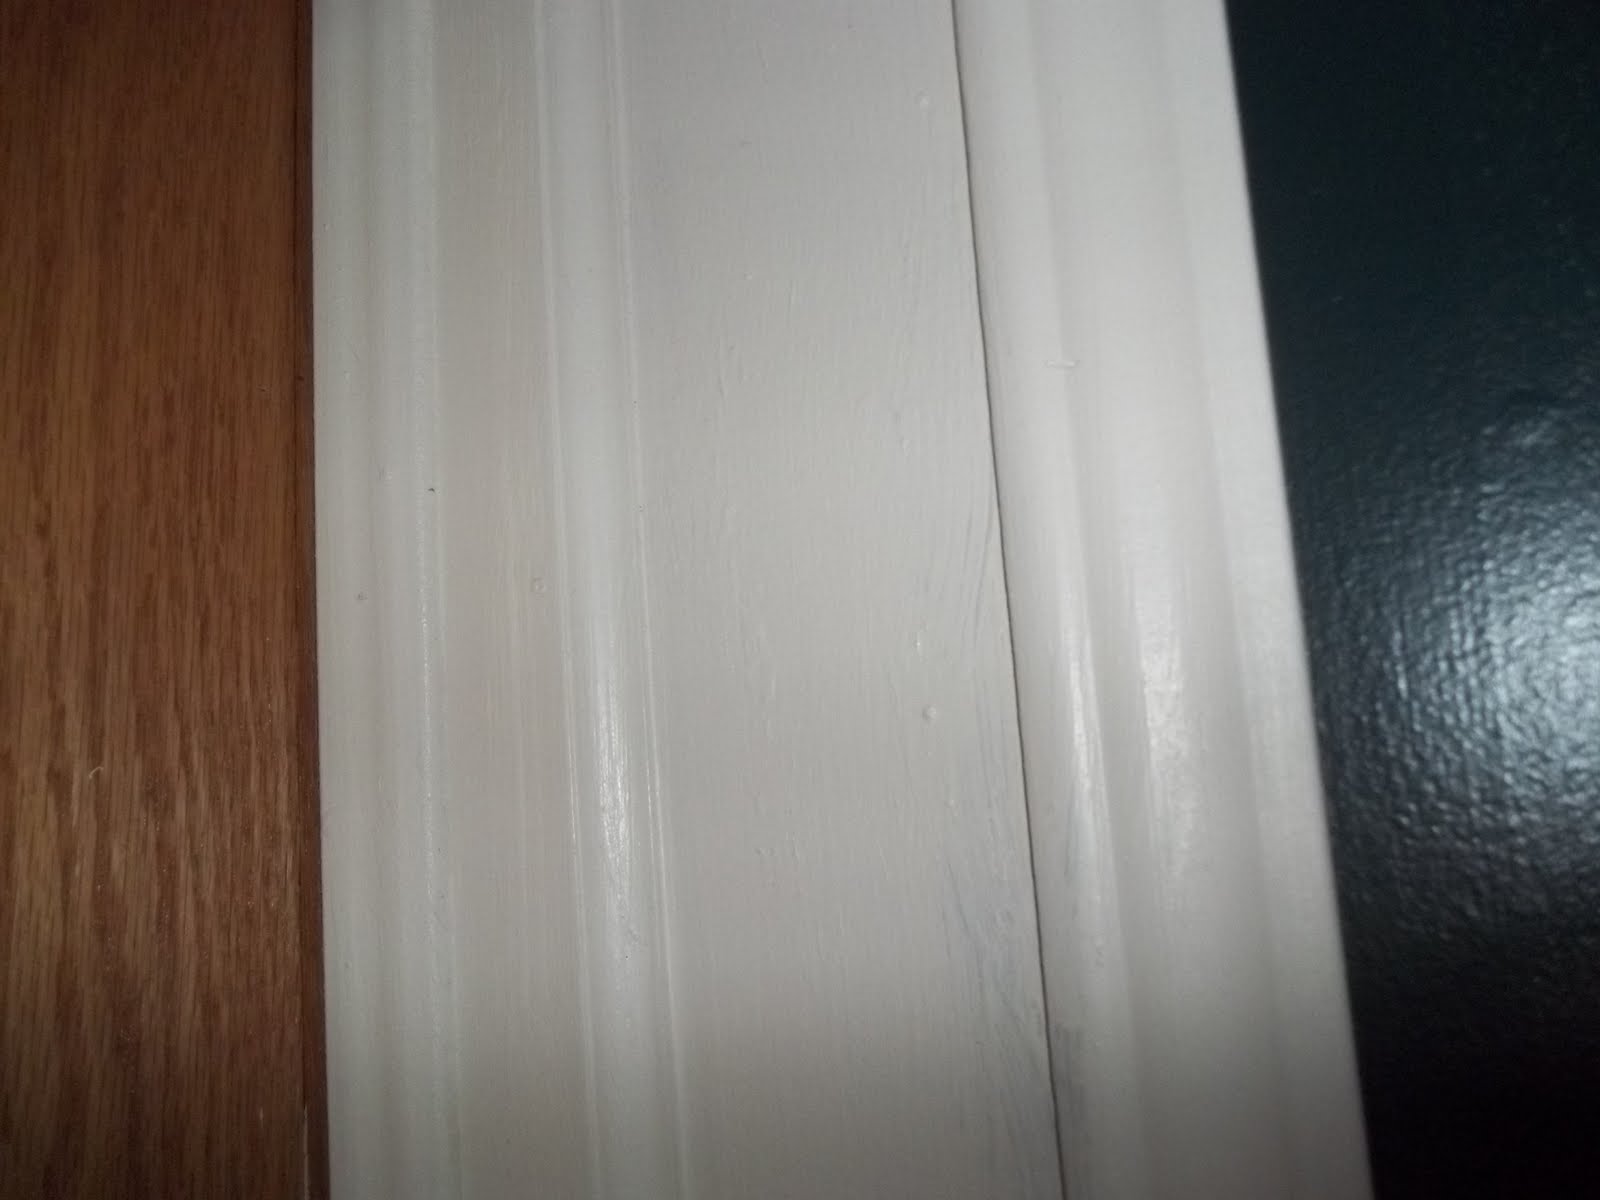
So now we skip over the flooring (I'll tell you about that later) I painted the bottom piece of trim we also got from Habitat for Humanity KC and we added that as the final layer after installing the flooring.

Excuse the sideways picture ;)

Isn't it gorgeous? And how about that lovely view out the windows? LOL

Domestically Speaking

Thursday, December 23, 2010

And the winner is.........

Me!

As you may know, I entered my bathroom remodel in the Habitat for Humanity photo contest for fall, and I won! I am now the proud owner of a $25 gift certificate good towards anything at ReStore! I can't wait to spend it!

Since we are going to talk about the bathroom again, I might as well share Christmas in the bathroom with you too, right?


And that's about as Christmasy as it gets in there (this year anyway ;)

I have another Christmas project entered in another contest so wish me luck!

Sunday, November 14, 2010

The New Chandy

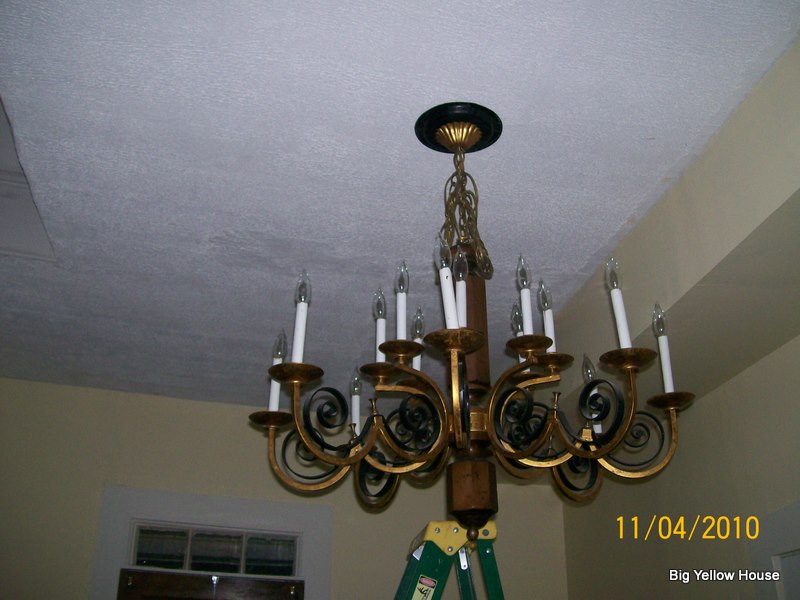
This is the chandy that was previously in my entry hall. One of the previous owners claimed they bought it from an antique store. And while it is a great light, I thought it was way too small for my entry hall, and one of the lights didn't even work.
 I can't remember the square footage of my entry hall, but I do remember it is much larger than my kitchen.

This is the one we bought at ReStore for the bargain price of $25! It is HUGE! And it is also very heavy. I'm so not a fan of gold or brass and had design to paint it. But since I haven't figured out the other colors in there yet (more on that later), it got hung as is for now.
The old one came down, but since they didn't hang it from a stud (ugh) we (he) had to make a bigger hole since the new one was much heavier.
We had company, they (he) helped. They reinforced it.
And then it got hung up and they called us women folk into the entry hall to check it out. They thought it would be funny to hang it "my size" so I could easily change the bulbs. Mr. Company is demonstrating the shortness of it all. HA!
Back to business.........it works! But Oh Em Gee it's bright! You think 40 watt was a bit too much? LOL I can now operate in that room! We still had the business of the new hole in the ceiling though and without a cover around, we needed something quick! Mrs. Company (knowing my love of repurposing AND spray painting) suggested a paper plate! Genius!
I thought about NOT sharing that part, but really, in a pinch? That is genius! No one even knows what it is all hung up there pretty like.

See? And it looks oh so fabulous in there! We are thinking of getting a dimmer switch to tone it down a bit because I'm thinking even the 20 watt bulbs are going to be a bit much if you aren't operating!
Back to the business of color.......See that floor? It's fabric. I guess back in the day some of the more affluent people covered their floors in fabric to prevent drafts. They just painted them, saturate them is the instruction I got from a previous owner that recreated this look. It's currently caramel color.
The walls are kind of a sunny yellow color. It is NOT what I wanted but I was frustrated and moved on to another project at this point. You can see what I was wanting HERE.
My house consist mostly of the colors in this pitcher. The entry hall leads into this sun room whose floor is another problem child of mine. WHY PAINT WOOD FLOORS? *ugh*
This is actually the way the sun room looks now. But anyway...........if anyone has any advice or suggestions on what to do with these two floors, painting or otherwise, please feel free to chime in!