Pages

Showing posts with label tutorial. Show all posts

Tuesday, November 12, 2013

Our banking secrets revealed

There have been two occasions that someone has stolen our debit card numbers and charged some things to us. Of course after they were found to be fraudulent charges we were reimbursed along with any charges incurred with it, but it's still such a pain to be without your debit card while waiting on a new one.


The first time it happened it was my debit card. Someone had charged some sports things and hubby got all excited, lol. But it's a good thing he asked because it wasn't me buying anything. We went to the bank and opened two more checking accounts.

Our first checking account is our main checking account and it's a free account. Any auto pay bills use the checking account number and not our associated debit cards for that account.

The second checking account we call savings even though our real savings account is at a different bank entirely. (Harder to spend it that way!) We transfer money from our main account into this one when we want to save for a large purchase. When we are ready to make the purchase, we transfer it back to the main account since we don't keep checks or debit cards for this account. I can transfer money back and forth all I want without penalty since it is technically a free checking account.

The third checking account if for internet purchases. There is generally just a penny in this account although sometimes it varies, but always under 50 cents. When we want to buy something on the internet, we transfer the money to this account and use the debit card associated with this account. Super easy! And again, no penalty since it is a free checking account with no transfer limits. It doesn't matter if anyone DOES get this account number because there is never anything in it to spend.

The second time a card was stolen, it was his. He rented a u-haul trailer online and forgot the system. In this case, someone actually made a COPY of the card and used it at a Family Dollar store in another state to buy a gift card for $202.00. Please remember that when you are out doing your holiday shopping this year and someone asks to see your ID, say THANK YOU!!!!
BTW, I just don't let him spend money on the internet any longer! haha


Monday, September 26, 2011

Reunion Crafts

So this past weekend I attended the 21st Annual Bullock Reunion in Paris, Arkansas. Part of what we do is bring a craft to "sell". The money helps fund the reunion for the following year. This is what I decided to take, although not all I made, lol.
This "set" included a cork board, magnetic board, dry erase board, and a chalk board.
The large frame was $1 and the cork board inside it was a free roadside find. The tacks were cute little erasers that I glued with E6000 onto plain thumbtacks.

The chalkboard was a platter from the Dollar Tree. I used a pop tab on the back to hang it on the wall. I already had the chalkboard paint of course.
The dry erase board frame was 50 cents. I already had the burlap I placed behind the glass and the pen was from the Dollar Tree.
The magnetic board was from a cookie sheet I already had. I had the paint too. This paint is Exotic Sea Gloss from Valspar, I LOVE this color! Again the magnets were made from cute little erasers from Dollar Tree that I glued on magnetic dots with E6000.
I also made these bubblegum "machines" to take. Aren't they cute?!
To make these all you need is some pots from the Dollar Tree.
Painted your choice of color. Here I used the same paint from Valspar. I also used glossy red from Rustoleum but don't have pictures of painting in process, hmmm.
Then you'll need some glass bowls. I bought both from the Dollar Tree but in the end decided to go with the fish bowl look.
Then you'll need pacifiers. I picked up this 2 pack from Dollar Tree. Cut off the nipple and handle.
I painted these with some left over paint from Rustoleum that I used to paint my dishwasher with.
I had these little plates that "came with" some other dishes I bought and were just sitting in my craft supply hutch along with these knobs. I still have a few left but I'm thinking if I want to make more, some toy dishes would be about the right size for the lids too. I only painted the top, food safety and all.

Glue on the pacifier (again with E6000, isn't it fabulous stuff?), add gumballs and voila! Your very own gumball machine!

I had a LOT of fun at the reunion and made some "purchases" myself  I will share later on. Can't wait for next year!

<meta name="p:domain_verify" content="f6151d9788d1b70ae65d18d74c088de1"/>

Monday, September 19, 2011

Do you make your own laundry soap?


I started doing it a few months ago and love it! I was in the process of making some more the other day when I realized I still had a LOT of borax and super washing soda left, and I've already made 5 batches!


And ok, maybe my scoop IS a little bigger than a tablespoon, but it's cute so who cares, right? And it still lasts for SO long!


This is all you need:

1 cup borax
1 cup super washing soda
1 bar Fels-Naptha (grated)

1 tablespoon per load

Wednesday, September 7, 2011

Confession Time Again

I'm not the neatest painter in the world. Sometimes I get lost in the project and ignore everything else, like what I'm touching, walking in, etc. Let's just paint, right!? Latex isn't so bad, it washes right off with soap and water and a little scrubbing. Oil, well, that's another story. I've actually shown people my paint colors by showing them my arm. Recently I was working on some lampshades and had gorilla glue all over my hands. It was horrible! I tried everything I had to get it off and nothing seemed to help until I tried this.

This is the pumice sponge that I use on my feet since I am barefoot 99% of the time. But it worked wonderful on removing the glue!
Recently, I've been painting this red which is an oil. My hands were still raw and sore from the chemicals I had put on them trying to remove the glue so I thought, why not try the sponge again?
Wonderful! You can see the bits of white and red paint on the sponge. If I keep this up I'm going to have the smoothest, shiniest hands in town.

My second confession is that sometimes after a full day of projects, I'm a little lax about dishes. Ok, I'm downright lazy about it! This was true the other day and dishes sat in the sink overnight without even a rinse! Gasp!
I had just the day before ran an empty cycle with this. Yep, koolaid! Supposedly the citrus in the lemonade flavor super cleans the dishwasher and for only 10 cents versus around $4 for the commercial cleaner, I thought why not?
My dishwasher isn't the newest on the block. (2 choices for washing, really?) It was here when we moved in and we have yet to get another one. But it works (probably not as efficient as a newer model though) so we go with it.

Anyhoo, I packed those dirty yucky dishes in that dishwasher, turned it on and went shopping. When I came home, they were so super clean! I have had instances before where I had done that pre kool-aid cleaning and had to take dishes out and scrub them and put them back in. But not this time, the kool-aid worked!

So do you have any confessions that maybe you learned something from?

Monday, September 5, 2011

The Lampshade

Last Christmas I made (re-did) some lamps for my daughter that started out as a horrid yellow color. I painted the base a brown color and added some brown trim along the top and bottom of the lampshade. Then she got a new couch which was red and some new coffee tables that were black and glass. Yep, time to redo the lamps.

I quickly painted the bases a black with little flecks of gold in it. I then removed the trim on the shades, uh oh, the glue left an ugly color on the shades. *sigh* Well I read about someone painting their shades once so I decided to paint the shades first and then add some new trim. I picked out an ivory color and went to town. I finished up a second coat and left them out to dry.

Uh Oh again, it rained, no, it poured that night and I forgot all about them. They now had some lovely water stains on them and were basically ruined. I was all about ready to throw them out when I decided to keep them to play around with. My intention was to remove the shade and keep the wire and play with some ribbon or something, until one morning I was digging around the craft room and saw the Mod Podge. !!!

I then dug out an old dictionary I used for making Christmas tags with and started ripping out pages. I then put them on the shade and liked it! I thought it was still missing something though.

Danglies! My first attempt at attaching them was with Gorilla Glue, take it from me DON'T DO THAT! The second shade was much better with my handy dandy glue gun. I really liked them at this point but they still seemed short of being finished.

The only black ribbon I had in the house was currently tied around some candle sticks and since I was anxious to have some, I stole it! I then had to iron the wrinkles out before using though.


Yes! I love them, what do you think? Ok technically they still belong to my daughter and I'm still waiting on her to look at them to see if she wants them or not. If she doesn't though, I'll get her new ones and use these myself! :)

BWS tips button

Monday, August 15, 2011

How about flooring?

Nothing is straight in this house, floors, ceilings, walls, etc. We've decided to go with it, gotta love an old crooked house, right? It's only horrible when you have to do flooring or try to measure up or down from a wall. But yet, I hated the carpet and it had to go. With 2 dogs and 3 cats carpet is so not a good idea.
 Here is the horrible matching carpet and walls. Keep in mind that ugly box step to the kitchen for later.
My rug even looks horrible against it.

So one day while browsing pinterest, I came across a flooring post that would be WONDERFUL for my floor! The idea came from Quarry Orchard, even though they didn't even know what it would be when they started. I was happy to learn from them and took it all to heart!

 We ripped up all the carpet and padding. Gross huh? We (he) then removed all the carpet tack strips and together we pulled out the 5 million staples from the padding. The couch stayed in here the entire time because I ran out of room to stash furniture, it was like a maze in my house.

They didn't know they were staining the planks, we did. So when we found minwax stain for $2.50 a quart at ReStore, we knew we would stain the sub floor a darker color than our planks to show through the grooves. And it dries much faster than paint, so it was perfect! Somewhere along in this mess, I decided the horrible already painted to look like brick fireplace had to go, and before I knew it, I was priming it too.


Since this was a big job, we went to Sutherlands for the plywood and had THEM cut it into planks. We used 1/4" sanded red oak and had it cut in 5 7/8" strips so they would come out even. The living room joins with the guest room, sun room, kitchen and our bedroom/parlor. The kitchen has allure flooring in it that was chosen so it could get wet. The guest room has original hardwood floors that are kind of dark. The sun room floor is hard wood that is painted red. The bedroom/parlor has carpet but oh what a surprise I found under it. We weren't trying to be all matchy matchy so we decided to go with wide planks and a light stain because of the dark walls. We chose 1/4" so it would be flexible with our crooked floors.

We used ipswich pine for the plank stain, also purchased from Restore KC, nice huh? We did all the staining outside and between the 2 of us it didn't take too long because it dried quick. We also did the poly outside but it took a lot longer because we didn't have the room to lay it ALL out to dry between coats. That and it finally rained here on and off all week the week we decide to work outside, figures huh? We used 3 coats of poly on each plank. We used a poly made by Rustoleum that was only $24 a gallon versus twice that for other brands. They didn't have much feedback on it at Home Depot but since it was Rustoleum, we thought why not? It looks good and I see NO problems with it so far. I'm sold!


Now that's what I'm talking about! It looks 2000 times better in here now!


Remember the little box step? I told him my vision for the new step and he made it come to life. Even better than I imagined. Yep, that's one of the things I love about him! Isn't it fabulous?

I'm off to take care of some more details in the room now.......


I'm partying at:

Flaunt it Friday
and
Show and Tell Friday
and
It's a HodgePodge Friday
and
http://www.thethriftyhome.com
Wallet-Friendly Wednesday


Transformation Thursday

Sunday, August 14, 2011

Lets start with baseboards

So traditionally "back in the day" as I always say, baseboards were called mop boards and were wide to prevent the mop from touching the walls. Now of course we don't really worry about that now, but I do like the look.

I don't remember if I saw it here first or on pinterest, but it is/was a fabulous idea! FAKE IT! We set off to gather supplies. First stop was a little place near here that sells Valspar since I refuse to visit Lowe's again. Second stop was Habitat for Humanity Restore to buy trim ($1 each piece). We also ended up buying 2 cabinet doors, 2 cabinet bases, a piece of plywood and a tabletop, but that's another project. (well, except the doors).

I painted the top trim.
I painted the existing bottom trim and a strip of white paint above it.
I used this handy dandy measuring device to measure the width.

I didn't get much help from the dogs who kept throwing things in the floor and ripping up the tape.
And of course laying in the way.
I then proceeded to paint the rest of the walls. It's a blue neutral called Deep River Green.Isn't it gorgeous? And it only took me a year to pick it!
 This is what it looked like before, horrid isn't it? The walls matched the carpet!
We then started ripping up the carpet and padding. I would like to personally thank whoever secured the padding with 5 million staples, but since I don't know who that is, I'll say it here, good job guy!
It was now time to paint the 2 cabinet doors I got from Habitat for Humanity Restore KC.(Also $1 each)

Added a trim frame around the windows and added the cabinet doors underneath.
I then primed and painted between all of that.

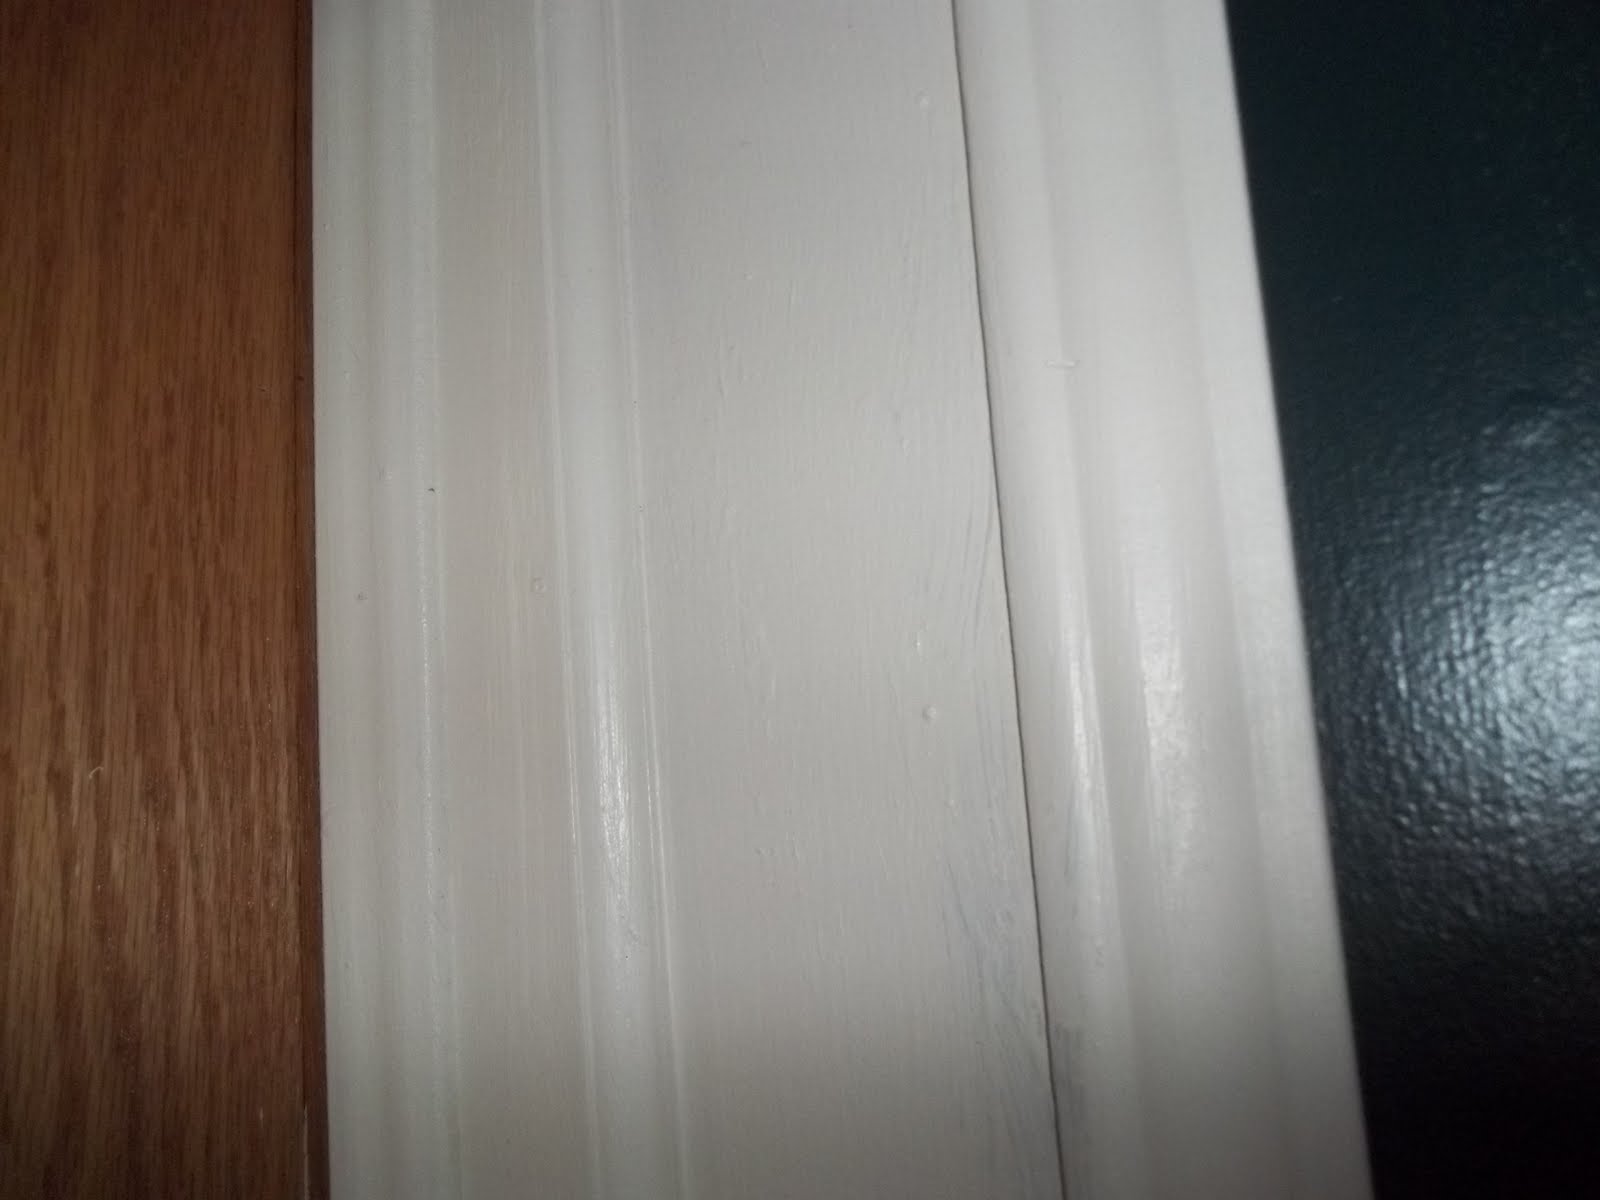
So now we skip over the flooring (I'll tell you about that later) I painted the bottom piece of trim we also got from Habitat for Humanity KC and we added that as the final layer after installing the flooring.

Excuse the sideways picture ;)

Isn't it gorgeous? And how about that lovely view out the windows? LOL

Domestically Speaking